

Snowman Crochet Pattern with Scarf and Bobble Hat
Crochet a chubby white snowman with a carrot nose, red scarf, green mittens and a bobble hat with pom pom.
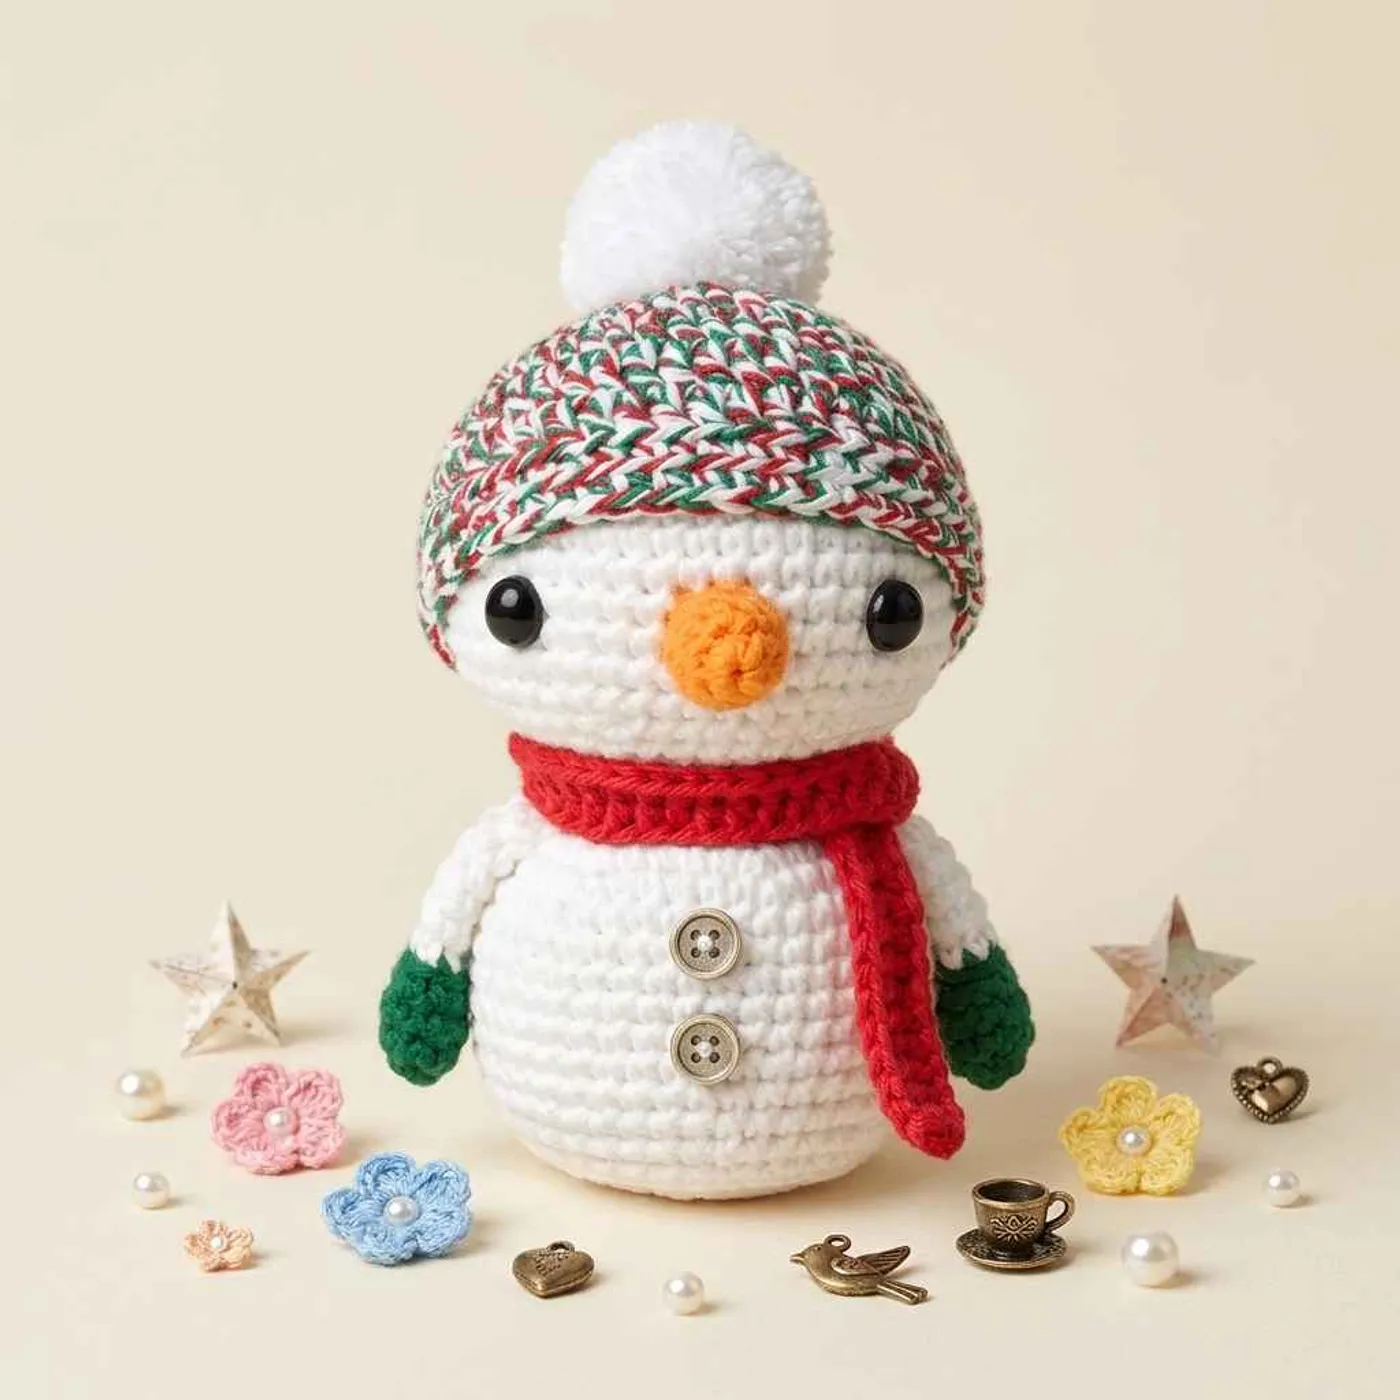
This chubby crochet snowman is a classic winter amigurumi with a round white head, a round white body, an orange carrot nose, a red scarf, green mittens and a bobble hat topped with a fluffy white pom pom. In the photo he sits comfortably in the palm of a hand.
The head and body are two simple balls worked in continuous rounds of single crochet, so the shaping is easy to follow.
The fun details come from the extras: a scarf worked in the back bumps of a chain, a double crochet hat with a single crochet brim, two-color mittens and a little cone nose.
It is a good project for an advanced beginner who knows the magic ring, increases and decreases and wants to try a few double crochet rounds. The pattern uses medium worsted weight yarn, a 2.75 mm (C/2) hook, 10 mm safety eyes and black buttons. It is written in US crochet terms.
Finished size
The PDF does not give a finished height. In the photo the snowman is about the size of a hand, with the head 48 stitches around and the body 42 stitches around.
Worsted yarn with the small 2.75 mm hook gives a firm fabric, so the snowman stands well on his flat base. A bigger hook or bulkier yarn will give a larger, softer snowman.
Materials overview
- Medium worsted weight yarn in white (head, body, mitten cuffs and pom pom), orange (nose), red (scarf), green (mittens) and a red, green and white yarn for the hat (colors from the photo)
- 2.75 mm (C/2) crochet hook
- 10 mm safety eyes
- Two black buttons
- Polyester fiberfill
- Scissors and a yarn needle
Yarn substitution
The sample looks like a smooth acrylic or cotton blend in worsted weight. Any smooth worsted yarn works; keep the hook small so the white fabric is dense and the stuffing does not show through.
The hat in the photo is made with a speckled red, green and white yarn. You can use any variegated yarn, or work the hat in a solid color and add stripes by changing color every round.
Stitch notes
- Head and body: both are worked in continuous single crochet rounds. Use a stitch marker so you do not lose count.
- Body round 18: this round is worked in the back loops only, which makes a ridge that helps the base sit flat.
- Scarf in the back bumps: the scarf is worked into the back bumps of the chain, which gives a neat edge on both sides.
- Hat in joined rounds: unlike the body, the hat is worked in joined rounds that start with ch 2 (or ch 1 for the brim). The ch 2 does not count as a stitch.
- Hat increases: on the hat, inc means 2 dc in the same stitch (2 sc on the brim rounds).
- Mittens: start in green, then switch to white for the cuff and arm. Round 5 in the back loops gives a small ridge between the mitten and the arm.
Common mistakes
- Placing the eyes too late: put the safety eyes in between rounds 13 and 14, 12 stitches apart, before you start decreasing the head.
- Understuffing the head and body: both pieces should be stuffed firmly so the snowman keeps a round shape and the head does not flop.
- Counting the ch 2 on the hat: the turning chain at the start of each hat round is not a stitch. Count only the dc stitches.
- Working the scarf in the wrong part of the chain: turn the chain over and work into the bumps on the back, not the front loops.
- Nose too low: the top of the nose should be level with the top of the eyes.
FAQ
Is this snowman safe for a baby?
Safety eyes and buttons can come loose. For a child under 3, embroider the eyes with black yarn and crochet or embroider the buttons instead of gluing them on.
How do I attach the head to the body?
The head is left open with 18 stitches. Stuff it firmly and sew it onto the body between rounds 3 and 4, using the long yarn tail.
Can I use a pom pom maker?
Yes. The pattern explains how to make the pom pom by wrapping yarn around your fingers, but a pom pom maker, a fork or a toilet roll work just as well.
Do I have to stuff the mittens?
Stuff the mittens only lightly, so the arms stay soft and sit close to the body.
Pattern
Work in continuous rounds unless the section says otherwise. The number in brackets is the stitch count at the end of the round.
Head
Work with white yarn.
Rnd 1: 6 sc in a magic ring (6)
Rnd 2: inc in each st around (12)
Rnd 3: (sc, inc) * 6 (18)
Rnd 4: (2 sc, inc) * 6 (24)
Rnd 5: (3 sc, inc) * 6 (30)
Rnd 6: (4 sc, inc) * 6 (36)
Rnd 7: (5 sc, inc) * 6 (42)
Rnd 8: (6 sc, inc) * 6 (48)
Rnd 9–16: sc in each st around (48) (8 rounds)
Tip: place the safety eyes between rounds 13 and 14, 12 stitches apart.
Rnd 17: (6 sc, dec) * 6 (42)
Rnd 18: (5 sc, dec) * 6 (36)
Rnd 19: (4 sc, dec) * 6 (30)
Rnd 20: (3 sc, dec) * 6 (24)
Rnd 21: (2 sc, dec) * 6 (18)
Finish with a sl st and cut a long yarn tail for sewing. Stuff the head firmly.
Body
Work with white yarn.
Rnd 1: 6 sc in a magic ring (6)
Rnd 2: inc in each st around (12)
Rnd 3: (sc, inc) * 6 (18)
Rnd 4: (2 sc, inc) * 6 (24)
Rnd 5: (3 sc, inc) * 6 (30)
Rnd 6: (4 sc, inc) * 6 (36)
Rnd 7: (5 sc, inc) * 6 (42)
Rnd 8–16: sc in each st around (42) (9 rounds)
Rnd 17: (5 sc, dec) * 6 (36)
Rnd 18: working in BLO, (4 sc, dec) * 6 (30)
Rnd 19: (3 sc, dec) * 6 (24)
Rnd 20: (2 sc, dec) * 6 (18)
Stuff the body firmly.
Rnd 21: (sc, dec) * 6 (12)
Rnd 22: dec * 6 (6)
Sew the body closed and weave in the end.
Scarf
Work with red yarn, in rows.
- Make a slip knot and ch 71.
- Dc in the 4th ch from the hook, working into the back bump of the chain.
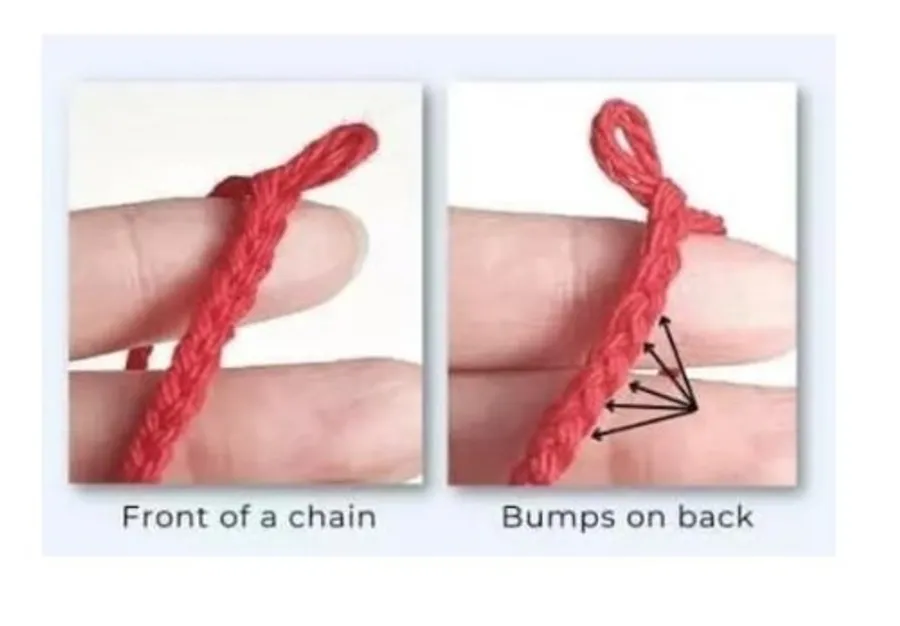
- Dc in each back bump across, for 68 dc in total.
- Finish by working ch 2, then cut a yarn tail for sewing.
- Sew the final 2 chains to the starting point of the scarf chain.
- Weave the ends into the scarf.
Hat
Work with the red, green and white yarn in joined rounds. The ch at the start of each round does not count as a stitch; join each round with a sl st.
Rnd 1: 6 sc in a magic ring (6)
Rnd 2: ch 2, 3 dc in each st around (18)
Rnd 3: ch 2, (dc, inc, inc) * 6 (30)
Rnd 4: ch 2, (dc, dc, inc, dc, inc) * 6 (42)
Rnd 5: ch 2, (6 dc, inc) * 6 (48)
Rnd 6–7: ch 2, dc in each st around (48) (2 rounds)
Rnd 8–9: ch 1, sc in BLO around (48) (2 rounds)
Cut a long tail and finish with an invisible join. Sew the pom pom to the center of the hat.
Arms (make 2)
Rnd 1: with green yarn, 6 sc in a magic ring (6)
Rnd 2: (sc, inc) * 3 (9)
Rnd 3–4: sc in each st around (9) (2 rounds)
Rnd 5: switch to white yarn, sc in each st around in BLO (9)
Rnd 6–10: sc in each st around (9) (5 rounds)
Finish with a sl st. Stuff the mitten lightly and sew the arm to the body between rounds 5 and 6.
Nose
Work with orange yarn.
Rnd 1: 6 sc in a magic ring (6)
Rnd 2: (2 sc, inc) * 2 (8)
Rnd 3: sc in each st around (8)
Rnd 4: (3 sc, inc) * 2 (10)
Finish with a sl st and cut a long tail for sewing. Stuff the nose lightly.
Pom pom
Work with white yarn.
- Cut a long piece of yarn, at least 30 cm (12 in).
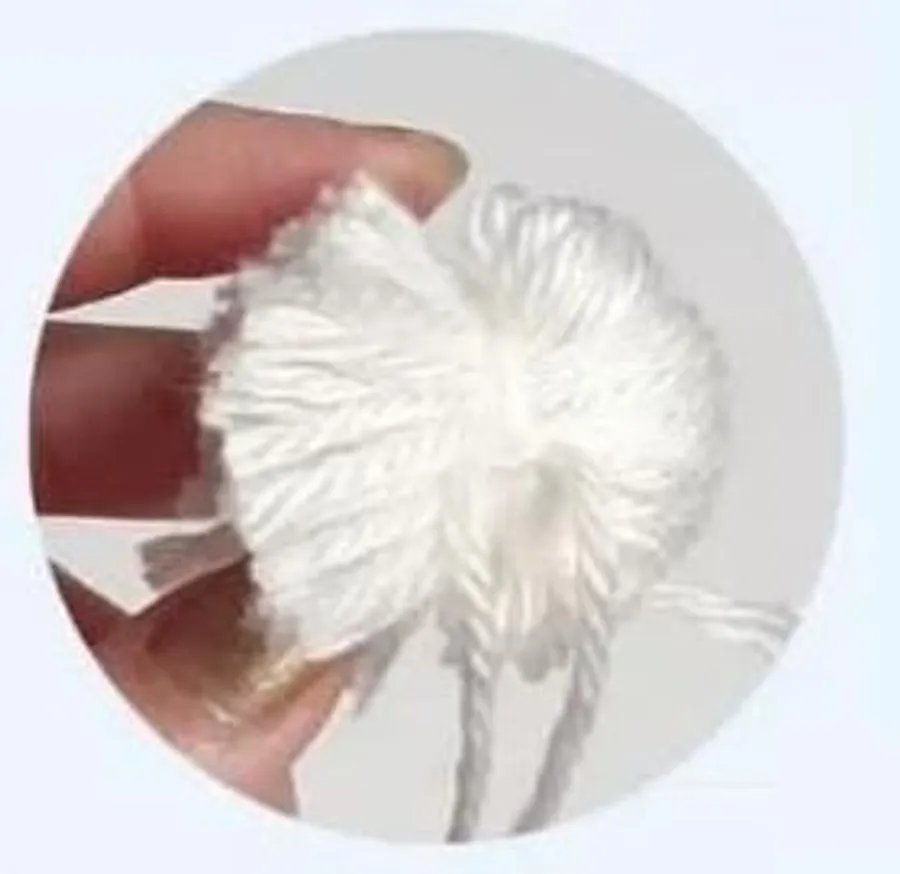
- Wrap your yarn around 2 or 3 fingers until it is quite thick. A fork or a toilet roll also works well.
- When you are happy with the thickness, tie the long piece of yarn tightly around the center of the wrapped yarn.
- Trim the rounded ends and trim the pom pom into a neat ball.
Assembly
- Sew the head onto the body between rounds 3 and 4.
- Sew the nose onto the head, with the top of the nose level with the top of the eyes.
- Sew the arms to the body between rounds 5 and 6, one on each side.
- Glue or sew the black buttons onto the front of the body.
- Wrap the scarf around the neck, where the head meets the body.
- Place the hat on the head and sew it in place if you like, with the pom pom on top.
Optional & Creative Ideas
- Gift ornament: make the snowman with a lighter yarn and a smaller hook and sew a hanging loop to the hat for the Christmas tree.
- Change the accessories: try a blue scarf and mittens, or a striped hat with a different color every round.
- Snow family: crochet two or three snowmen in different sizes for a winter shelf display.
- Holiday tag: tie a little name tag to the scarf and give the snowman as a gift.
Final Thoughts
This snowman uses only basic stitches, but the scarf, mittens and bobble hat make him look special. Stuff the head and body firmly, place the eyes before you decrease, and you will have a cheerful winter friend ready for the holidays.
Patterns and instructions on OpenCrochet are for personal use. Please do not redistribute copies of this content; share the page link instead.


