Black Cat Crochet Pattern Halloween Amigurumi
Crochet a sitting black cat with yellow eyes, pointed ears, a ruffled orange collar and a curly tail. A simple Halloween amigurumi made with basic stitches.
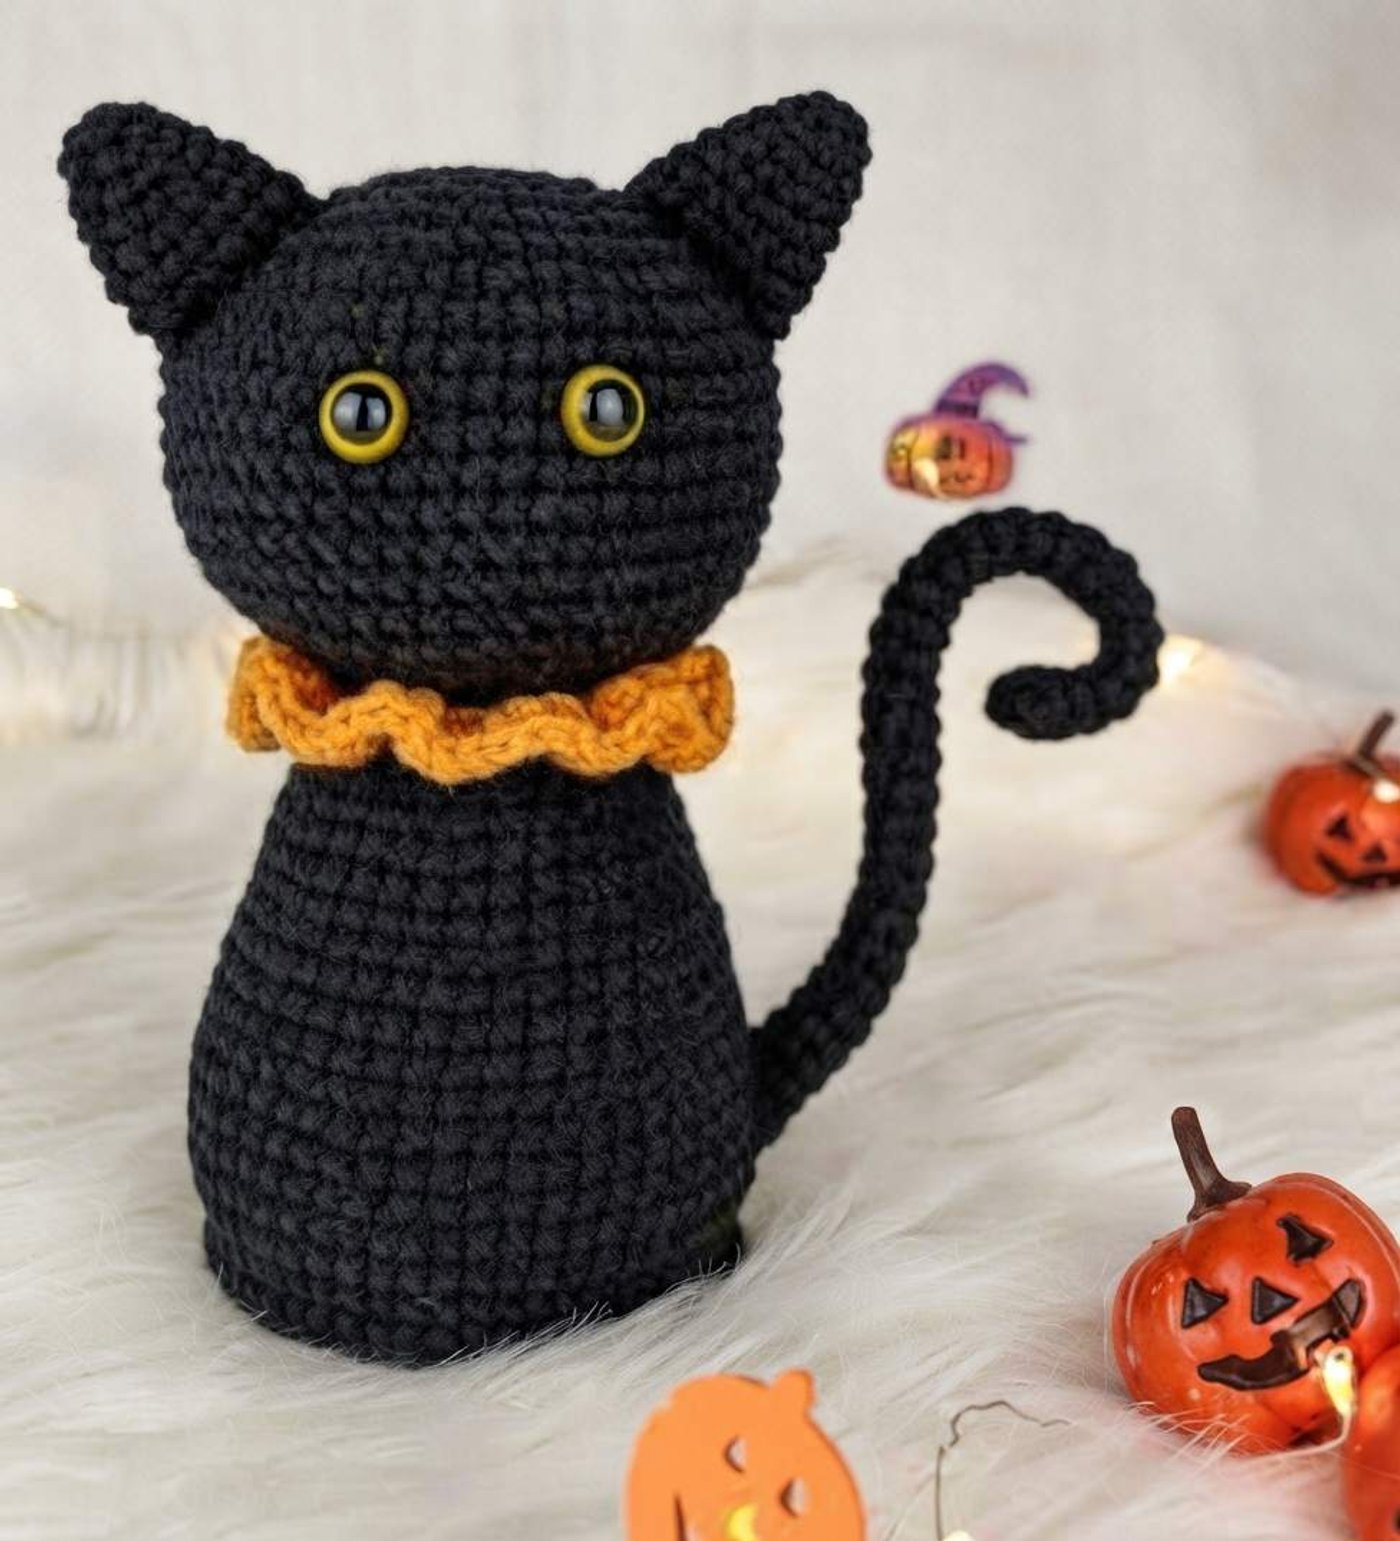
This pattern makes a classic sitting black cat for Halloween: a round head with two pointed ears, yellow safety eyes, a bell-shaped body that stands on its own, a ruffled orange collar and a long tail with a curl at the tip. It is worked in black single crochet with only a few simple parts, so it is a good fit for confident beginners and for anyone who wants a quick seasonal project that looks polished. The head and body are made separately and sewn together, which gives the cat its neat neck line, and the collar hides the seam. The ears and tail are small, so you can finish the whole cat in one or two sittings.
Note: the source pattern is missing the first two rounds of the head and does not list the yarn weight, hook size or eye size. The head rounds below use the same start as the body (the two parts are built the same way up to round 7), and a few typos in the original have been corrected and marked.
Finished size
The source does not give a measurement. Because the pattern works to 56 stitches around, the cat will be roughly 6-8 in (15-20 cm) tall with worsted weight yarn and a matching hook, and a little smaller with fine yarn. The head is wider than it is tall, and the tail adds some height when it stands upright. Your size will vary with your yarn, hook and tension.
Yarn substitution
- Any smooth yarn works, as long as you pair it with a hook that makes a dense fabric. Stuffing should not show through the stitches, which is especially important with black yarn.
- Black yarn is hard to see, so work in good light and use a stitch marker in every round. A matte cotton or acrylic is easier to read than a fuzzy or dark-dyed yarn.
- Collar color: orange is classic for Halloween, but any contrasting color works. The ruffle looks best in a yarn with a bit of body.
- Eyes: if you substitute thicker or thinner yarn, adjust the safety eye size so they still look in proportion to the head.
Common mistakes
- Missing head rounds: the original starts at Rnd 3. Start with Rnd 1 and Rnd 2 as written below (8 sc in a magic ring, then inc in all 8) or the stitch counts will not add up.
- Typo in Rnd 5: the original says (3 sc, inc) x 6 to reach 40 stitches. From 32 stitches you need to repeat it 8 times, so work x 8.
- Typo in the ear: the last round says x 8 to reach 15. Working it x 3 gives the correct 15 stitches.
- Typo in the tail: rounds 2-31 say 6 st but the count is 7. Work 7 sc in each round.
- Eye placement: the body section in the source also mentions safety eyes. That is a copy-and-paste leftover, so only put eyes on the head.
- Stuffing too little: the body needs firm stuffing to keep its shape and sit upright. Stuff in small pieces as you decrease.
- Skipping the back loop round: Rnd 8 of the body is worked in the back loop only. This makes the edge you will use for the base edging.
FAQ
Where do I place the safety eyes?
On the head, between rounds 10 and 11, with 7 stitches between them (counting 6 holes). Insert the posts and fix the backs before you stuff the head.
Are safety eyes safe for kids?
Safety eyes can still be a hazard for babies and young children. For a child, embroider the eyes with yellow yarn or felt instead.
Why is the body edged at the bottom?
The base edging is worked in the front loop of Rnd 8, so it forms a neat flat rim that helps the cat sit upright. Treat it as part of the finishing, and weave in the ends well.
How do I make the tail curl?
The pattern does not use a wire. The tail is a long tube that is flattened and closed at the end, so it will bend gently. If you want a firm spiral like in the photo, you can insert a thin wire or pipe cleaner before sewing it on, and keep it covered so no ends poke out.
How do I get the collar to ruffle?
Work 2 dc in every chain along a 30-chain strip. The extra stitches make the strip curve and ruffle when you sew the ends into a ring.
Head
In black yarn. Work in continuous rounds.
- Rnd 1: 8
scin a magic ring (8) (assumed from the body) - Rnd 2:
incin all 8 st (16) (assumed from the body) - Rnd 3: (
scin next st,inc) x 8 (24) - Rnd 4: (
scin next 2 st,inc) x 8 (32) - Rnd 5: (
scin next 3 st,inc) x 8 (40) (corrected from x 6) - Rnd 6: (
scin next 4 st,inc) x 8 (48) - Rnd 7: (
scin next 5 st,inc) x 8 (56) - Rnd 8-15:
scin all 56 st (56)
Attach the safety eyes between rounds 10 and 11, leaving 7 stitches (6 holes) between them. Start stuffing the head as you continue.
- Rnd 16: (
scin next 6 st,dec) x 7 (49) - Rnd 17: (
scin next 5 st,dec) x 7 (42) - Rnd 18: (
scin next 4 st,dec) x 7 (35) - Rnd 19: (
scin next 3 st,dec) x 7 (28) - Rnd 20: (
scin next 2 st,dec) x 7 (21)
Fasten off and weave in the ends.
Tip: finish stuffing the head firmly before the last decrease round. A round, full head makes the cat look much cuter.
Body
In black yarn.
- Rnd 1: 8
scin a magic ring (8) - Rnd 2:
incin all 8 st (16) - Rnd 3: (
scin next st,inc) x 8 (24) - Rnd 4: (
scin next 2 st,inc) x 8 (32) - Rnd 5: (
scin next 3 st,inc) x 8 (40) (corrected from x 6) - Rnd 6: (
scin next 4 st,inc) x 8 (48) - Rnd 7: (
scin next 5 st,inc) x 8 (56) - Rnd 8:
scin the back loop only (bl) of all 56 st (56) - Rnd 9-10:
scin all 56 st (56) - Rnd 11: (
scin next 6 st,dec) x 7 (49) - Rnd 12-14:
scin all 49 st (49) - Rnd 15: (
scin next 5 st,dec) x 7 (42) - Rnd 16-18:
scin all 42 st (42) - Rnd 19: (
scin next 4 st,dec) x 7 (35) - Rnd 20-22:
scin all 35 st (35) - Rnd 23: (
scin next 3 st,dec) x 7 (28) - Rnd 24-25:
scin all 28 st (28) - Rnd 26: (
scin next 2 st,dec) x 7 (21)
Stuff the body firmly. Fasten off, leaving a long yarn tail for sewing the body to the head, then sew the body to the head.
Base body edging
With the bottom of the body facing outwards, join black yarn to the front loop (fl) of Rnd 8.
- Rnd 1:
scin each st (56)
The right side of the sc should face you. Fasten off and weave in the ends.
Collar
In orange yarn.
ch30. Starting in the 3rd chain from the hook, work 2dcin each chain (28)
Fasten off, leaving a long tail for sewing. Place the collar around the neck and sew the ends together.
Ear (make 2)
In black yarn.
- Rnd 1: 6
scin a magic ring (6) - Rnd 2:
scin all 6 st (6) - Rnd 3: (
scin next st,inc) x 3 (9) - Rnd 4:
scin all 9 st (9) - Rnd 5: (
scin next 2 st,inc) x 3 (12) (the original says x 2, which gives 11) - Rnd 6:
scin all 12 st (12) - Rnd 7: (
scin next 3 st,inc) x 3 (15) (corrected from x 8)
Fasten off, leaving a long tail. Flatten the ear and sew it to the head between rounds 5 and 9.
Tail
In black yarn.
- Rnd 1: 7
scin a magic ring (7) - Rnd 2-31:
scin all 7 st (7) (the original says 6 st, but the count is 7) - Rnd 32: flatten the tail and
scboth sides together to close it
Fasten off, leaving a long tail. Sew the tail to the body between rounds 9 and 11.
Assembly
- Check that the safety eyes are secure and the head is fully stuffed.
- Sew the body to the head with the long tail.
- Add the base edging and weave in the ends.
- Fit the collar around the neck and sew it closed.
- Sew on the ears and tail.
Optional & Creative Ideas
- Customize colors: make a gray, white or ginger cat, or use a purple or green collar for a witchy look.
- Add a tiny hat: crochet a mini witch hat to sit between the ears, or add a bow in place of the collar.
- Embroider the face: add a small pink nose and whiskers with embroidery thread for more expression.
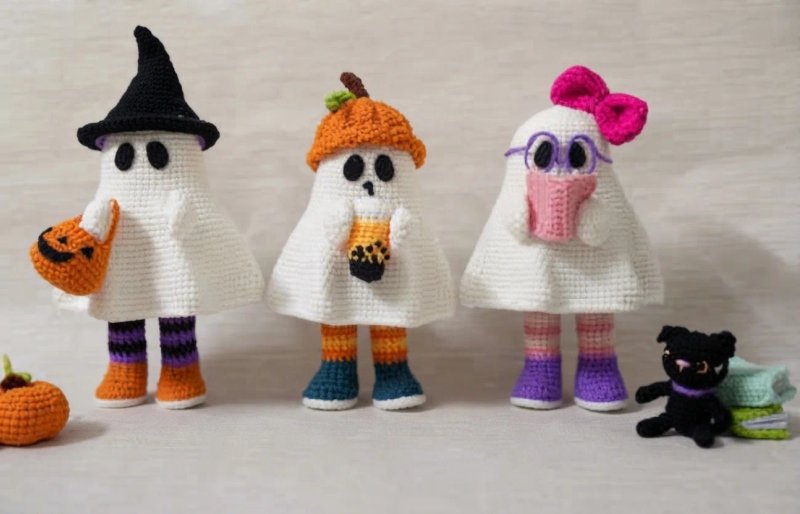
- Pair with other pieces: this cat works well as a prop next to pumpkins or ghost amigurumi in a Halloween display.
- Make it a keychain or ornament: use fine yarn and small eyes for a mini version.
Final Thoughts
This cat is a simple build with a lot of charm: a round head, a firm bell-shaped body and a ruffled collar that covers the join. Take care with the stitch counts in the corrected rounds and stuff the pieces firmly, and you will have a sturdy little cat that sits upright for the whole Halloween season.
Patterns and instructions on OpenCrochet are for personal use. Please do not redistribute copies of this content; share the page link instead.