

Little Sun Crochet Pattern: Smiling Amigurumi Sun with Rays
Crochet a smiling little sun plush with pink cheeks and two rings of pointed rays, using 8 ply cotton and simple back-loop rounds.
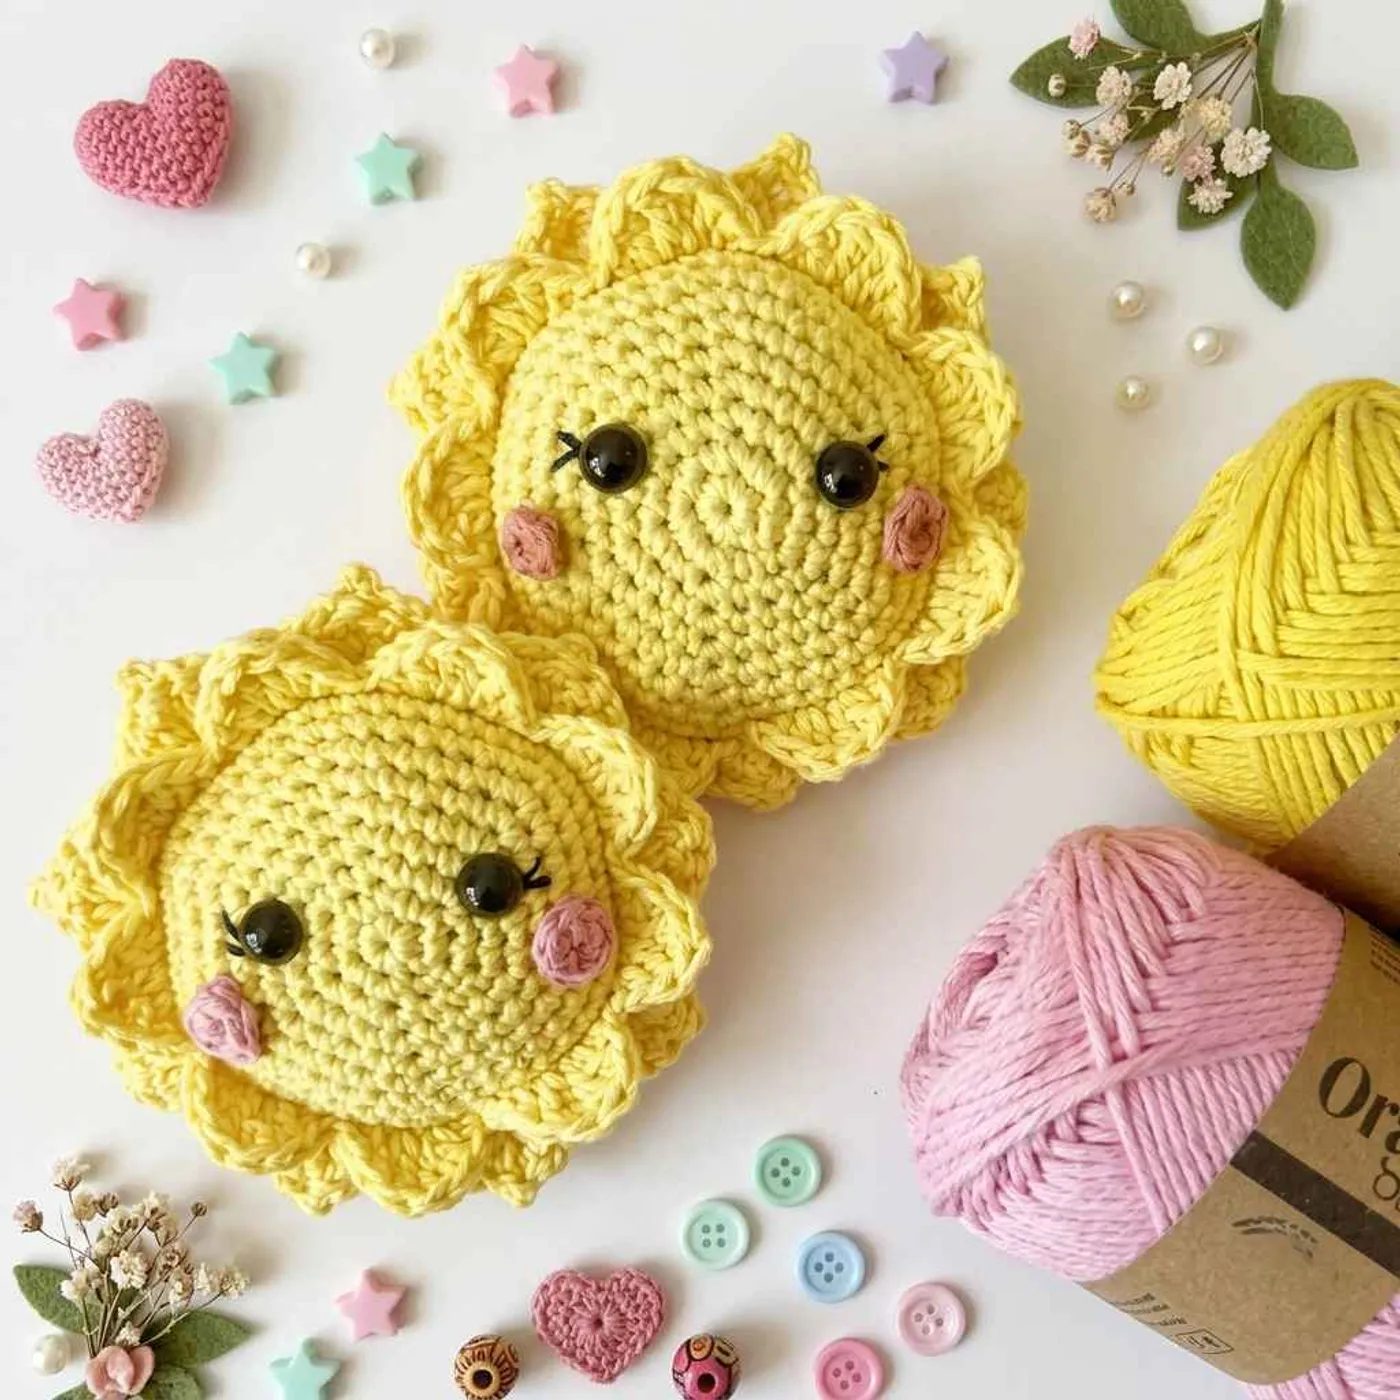
This little sun crochet pattern makes a round, smiling sun plush with sleepy lashes, pink cheeks and two layers of pointed rays. It is a cheerful palm-sized amigurumi for a nursery shelf, a baby mobile or a "you are my sunshine" gift.
The designer used 8 ply (DK/light worsted) organic cotton in yellow and pink, with 3 mm and 2.5 mm hooks, safety eyes and embroidery thread for the eyelashes. The whole sun is one ball worked in 19 rounds, plus a tiny cheek circle.
What makes it different from a plain amigurumi ball is the rays. Two rounds in the middle are worked in the back loop only, which leaves two rings of free front loops.
You then crochet one ring of rays on the front and a second, offset ring with picot tips on the back, so the sun looks full from every side.
It is a good project for an advanced beginner. You need sc, inc, dec, back-loop rounds, and two combined stitches (a dc and a tr in the same stitch) that shape each ray.
Tip: Put a stitch marker in the first stitch of Rnd 10 and another in Rnd 11. Those front loops are where both ray rounds start.
Finished size
The PDF does not give a finished size. With 8 ply cotton and a 2.5–3 mm hook, the 54-stitch body is roughly 3.5 in (9 cm) across, and about 4.5 in (11–12 cm) with the rays. Treat this as an estimate; your yarn and tension will change it.
For a bigger sun, use worsted or chunky yarn with a larger hook. The shape and the ray counts stay the same.
Yarn substitution
The designer used Lincraft Ficio Organic Cotton (8 ply) in yellow and pink.
- Any 8 ply / DK cotton works. Cotton gives crisp, pointed rays that hold their shape.
- Acrylic or milk cotton is softer and great for a baby toy, but the rays will be a little floppier.
- Pink scraps are enough for the cheeks: each one is only a 6-stitch circle.
- Hook size: the PDF lists both 3 mm and 2.5 mm without saying which part uses which. A tight body is important so stuffing does not show, so go down a size if your fabric looks open.
Common mistakes
- Working Rnds 10–11 in both loops. These two rounds must be back loop only. If you use both loops, there are no front loops left for the rays.
- Eyes on the wrong side. Insert the eyes between Rnds 4 and 5 with the start of the round at the bottom of the face. Otherwise the color jog ends up next to an eye.
- Miscounting the rays. The 9 ray repeats are worked into the 54 free front loops (6 loops per ray), with the dc and tr of each combined stitch sharing one loop. Count rays, not stitches: you should have 9 on the front and 9 on the back.
- Closing before stuffing. Stuff firmly from about Rnd 16, before the opening gets too small. A firm sun keeps the rays standing out.
FAQ
Is this sun safe for a baby?
Safety eyes can be a choking risk for children under 3. For a baby, embroider the eyes with black yarn instead, and sew the cheeks on very securely.
What are dctr and trdc?
They are two stitches in one stitch. dctr = a dc and a tr in the same stitch; trdc = a tr and a dc in the same stitch. They make the tall point of each ray.
Why are there two layers of rays?
The front rays are worked into the free loops of Rnd 10 and the back rays into the free loops of Rnd 11. The back round is offset, so its points sit between the front rays and the sun looks full from the front.
Can I hang it?
Yes. Sew a loop of yarn or a ribbon to the top of the back before you weave in the ends, and it makes a sweet ornament or mobile piece.
Pattern notes
- The body is worked in continuous rounds from the front center to the back center.
- Numbers in ( ) are the stitch counts at the end of the round.
- "( ) x6" means repeat the stitches in brackets 6 times around.
Cheeks (make 2)
With pink:
- Rnd 1: 6
scin a magic ring. (6)
Fasten off, leaving a tail for sewing. Set aside.
Body
With yellow:
- Rnd 1: 6
scin a magic ring. (6) - Rnd 2:
incin each st around. (12) - Rnd 3: (
sc,inc) x6. (18) - Rnd 4: (2
sc,inc) x6. (24) - Rnd 5: (3
sc,inc) x6. (30) - Rnd 6: (4
sc,inc) x6. (36) - Rnd 7: (5
sc,inc) x6. (42) - Rnd 8: (6
sc,inc) x6. (48) - Rnd 9: (7
sc,inc) x6. (54) - Rnd 10:
scin each st around, working in theBLO. (54) - Rnd 11: Repeat Rnd 10. (54)
Face
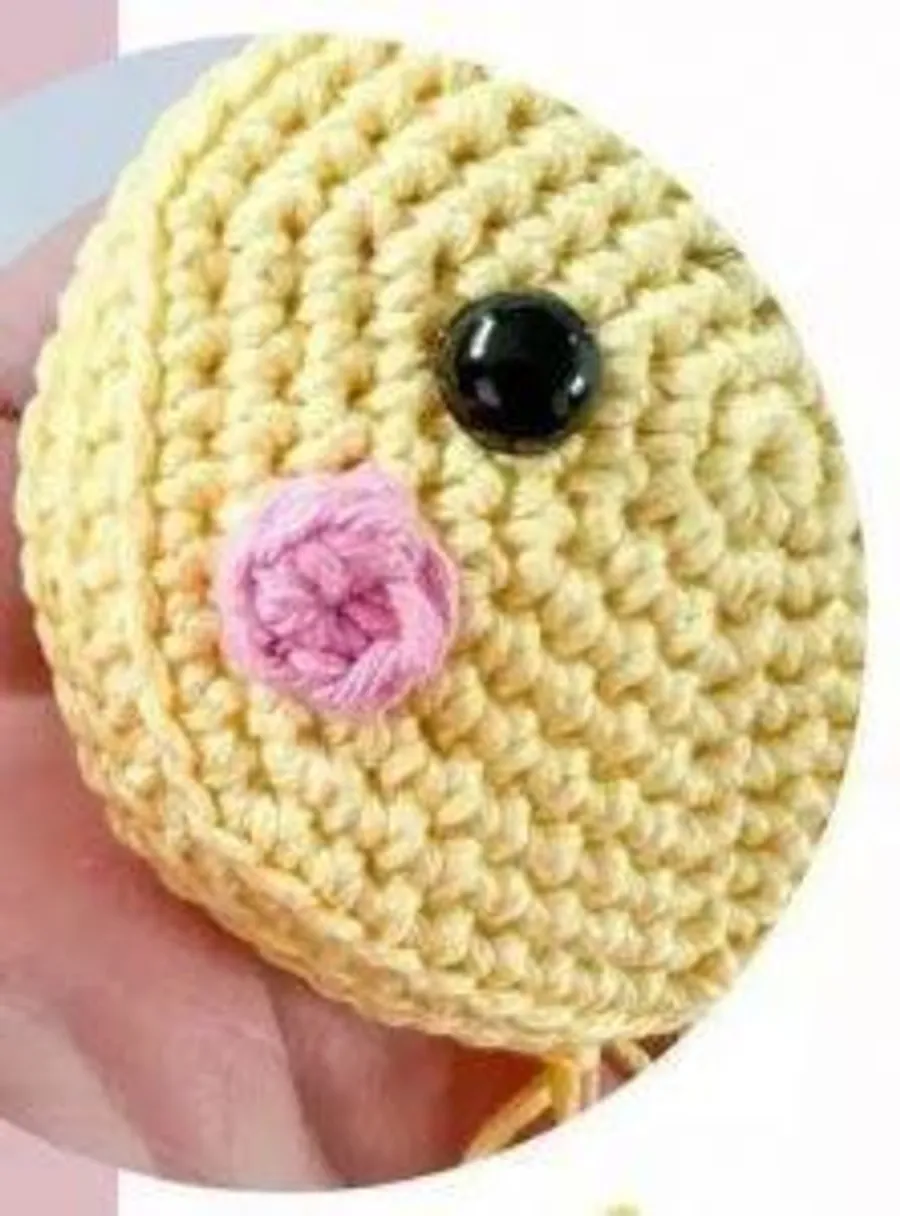
Insert the safety eyes between Rnds 4 and 5. Make sure the start/end of the round is at the bottom when you place them. Embroider small eyelashes with embroidery thread.
Sew the cheeks on over Rnds 6 and 7, just below and outside the eyes.
Back of the body
- Rnd 12: (7
sc,dec) x6. (48) - Rnd 13: (6
sc,dec) x6. (42) - Rnd 14: (5
sc,dec) x6. (36) - Rnd 15: (4
sc,dec) x6. (30) - Rnd 16: (3
sc,dec) x6. (24)
Stuff firmly and keep adding stuffing as you go.
- Rnd 17: (2
sc,dec) x6. (18) - Rnd 18: (
sc,dec) x6. (12) - Rnd 19:
decx6. (6)
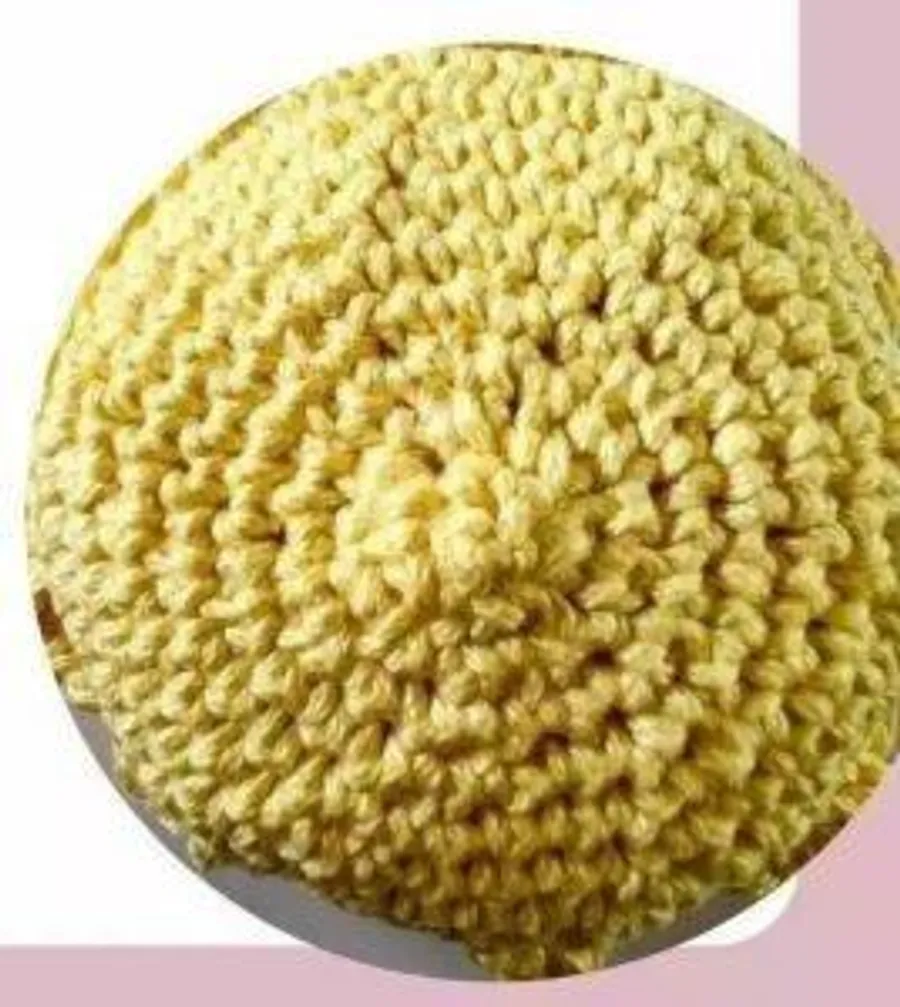
Fasten off. Close the hole by running the tail through the front loops of Rnd 19, pull tight and weave in the end.
Rays at the front
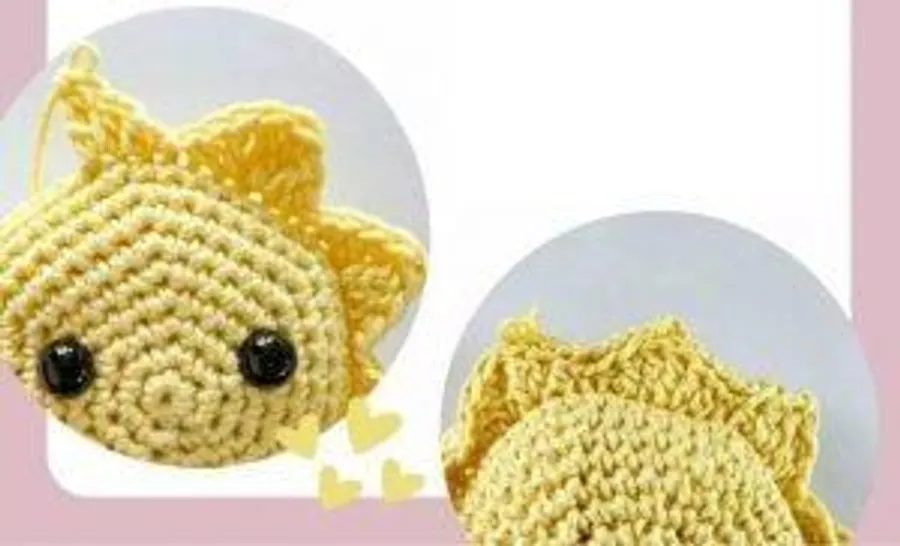
With the front (face) of the sun facing you, join yellow in the first free front loop of Rnd 10.
- Rnd 1: (
sl st,hdc,dctr,trdc,hdc,sl st) x9. (9 rays)
Rays at the back
With the back of the sun facing you, continue into the first free front loop of Rnd 11.
- Rnd 1: (
trdc,hdc, 2sl st,hdc,dctr) x9. (9 rays) - Rnd 2: Ch 2,
sl stin the 2nd ch from the hook (picot), then 8sl stin the front loops only. Repeat around (9 picots, one per ray).
Tip: Each back-ray repeat from Rnd 1 has 8 stitches (thetrdcanddctrcount as 2 each), so the 8 slip stitches bring you to the next ray. If a picot lands off the tip, shift it by a stitch so it sits on the point.
Fasten off and weave in all ends.
Optional & Creative Ideas
- Customize colors: Make a soft orange or pastel peach sun, or add a rainbow of rays by changing color for the back ray round.
- Sleepy or awake: Skip the safety eyes and embroider closed, curved eyes for a sleeping sun.
- Mobile or ornament: Sew a yarn loop to the back and hang it on a nursery mobile next to clouds and stars.
- Rattle: Add a toy rattle insert in the middle of the stuffing for a baby gift (use embroidered eyes).
Final Thoughts
This little sun is quick, round and full of character. The two back-loop rounds are the only trick, and they give you a double ring of rays that makes it look far more detailed than it is.
Patterns and instructions on OpenCrochet are for personal use. Please do not redistribute copies of this content; share the page link instead.


