

Easy Baby Monkey Amigurumi Pattern: Free Crochet Tutorial
Create your own adorable 8cm monkey with this easy Free crochet pattern! Perfect for beginners, this step-by-step guide covers everything you need to start.
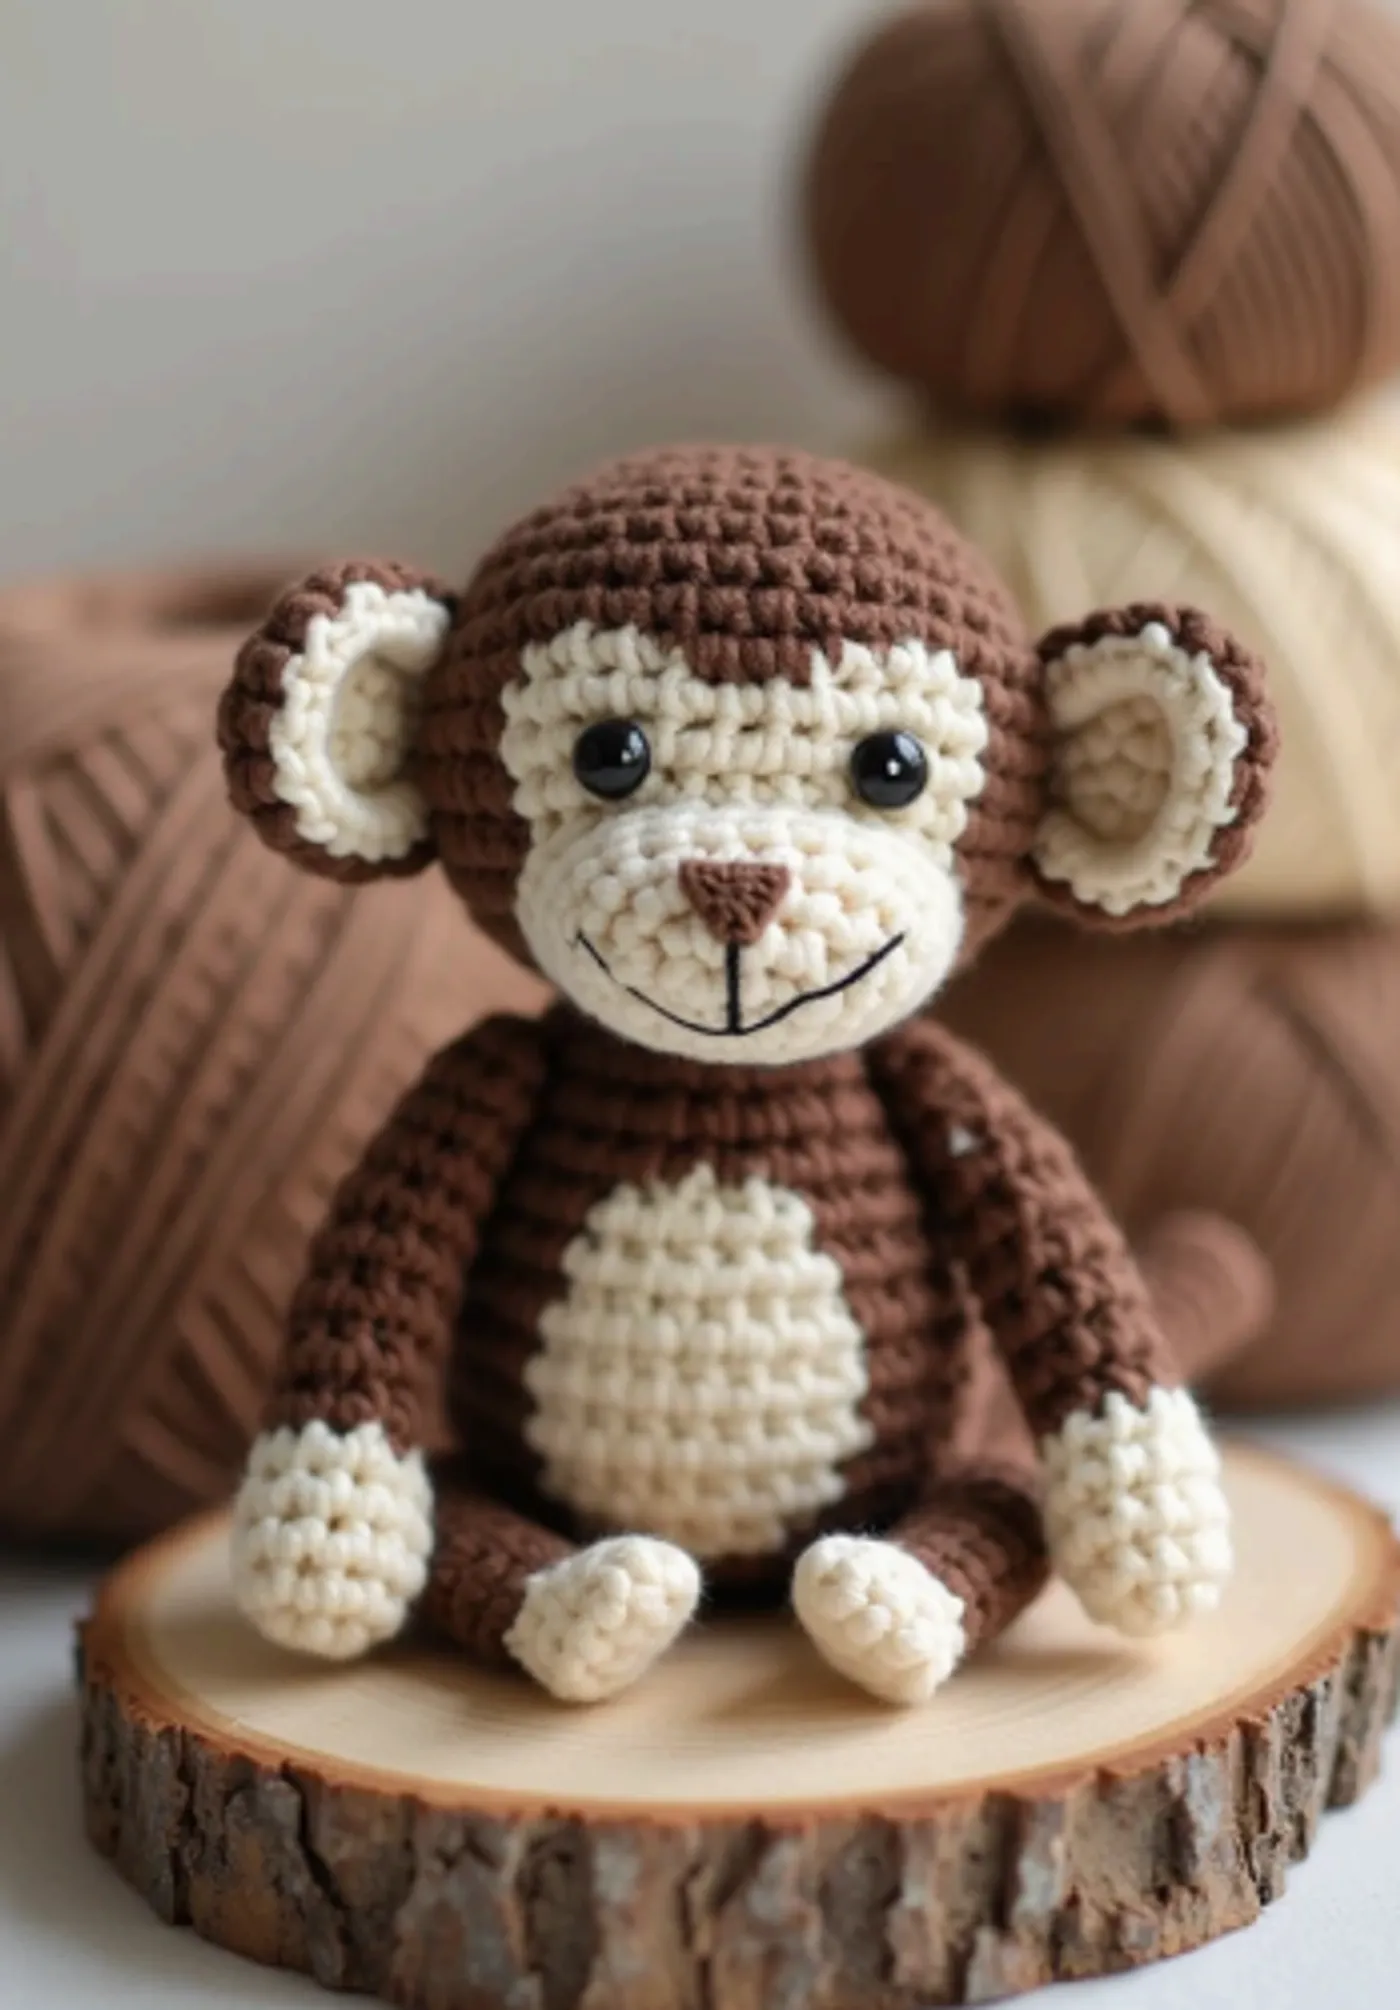
A step-by-step guide to making your own adorable crochet 💖
This tiny monkey stands just 8 cm tall and is a joy to create using the amigurumi spiral method. It features a soft beige muzzle and a long, playful tail, making it the perfect pocket-sized friend.
💡 Tip: Use a smaller hook than recommended on the yarn label to ensure your stitches are tight enough so the filler doesn't show through.
🐵 Creating the Head and Body
1. Crafting the Head
- Round 1: Begin with a magic ring and work 6 single crochet stitches.
- Round 4: Work (2 single crochet, 1 increase) six times to reach 24 stitches total.
- Round 5: Work (3 single crochet, 1 increase) six times for 30 stitches total.
- Rounds 6-11: Crochet 30 single crochet stitches evenly around.
- Round 12: Work (3 single crochet, 1 decrease) six times to get back to 24 stitches total.
- Round 13: Work (2 single crochet, 1 decrease) six times for 18 stitches total.
- Round 14: Work (1 single crochet, 1 decrease) six times for 12 stitches total.
- Finish: Fasten the thread, cut it, hide it inside, and stuff the head firmly.
2. The Main Body
- Round 1: Start with 6 single crochet stitches in a magic ring.
- Round 2: Crochet 6 increases to reach 12 stitches total.
- Round 3: Work (1 single crochet, 1 increase) six times for 18 stitches total.
- Round 4: Work (2 single crochet, 1 increase) six times for 24 stitches total.
- Rounds 5-7: Crochet 24 single crochet stitches around.
- Round 8: Work 6 decreases, then (1 single crochet, 1 decrease) four times to reach 14 stitches total.
- Rounds 9-11: Crochet 14 single crochet stitches.
- Round 12: Work (5 single crochet, 1 decrease) twice for 12 stitches total.
- Round 13: Crochet 12 single crochet stitches and leave a long tail for sewing. Stuff the body.
🐒 Limbs and Tail
3. Arms and Legs (Make 4)
- Round 1: Using beige yarn, work 6 single crochet in a magic ring.
- Round 2: Work (2 single crochet, 1 increase) twice for 8 stitches total.
- Rounds 3-4: Crochet 8 single crochet stitches. Switch to brown yarn.
- Rounds 5-11: Crochet 8 single crochet stitches with the brown yarn.
4. The Long Tail
- Step: Chain 20, then starting from the second chain from the hook, work 19 single crochet stitches back down the chain.
✨ Face Details and Assembly
5. The Muzzle and Ears
- Muzzle Part 1: Using beige yarn, work 6 single crochet in a magic ring but work in turning rows (do not connect in a circle).
- Muzzle Part 2: Chain 6 and work around both sides of the chain to create an oval shape.
- Ears: Crochet one beige circle and one brown circle of 6 single crochet in a magic ring each, then join them together with 6 increases.
6. Final Assembly
- Sew the ears to the sides of the head between Rounds 7 and 9.
- Attach the muzzle and glue the eyes between the 2nd and 3rd rows of the muzzle piece.
- Sew the head to the body and attach the arms and legs at the sides.
- Finally, sew the tail onto the back around Round 5.
Your adorable baby monkey is now complete!
Optional & Creative Ideas
💡 Optional & Creative Ideas
- 🎀 Add a Splash of Color: Crochet a tiny bow in a bright color like pink or yellow to place on the monkey's head or neck.
- 🍌 A Sweet Accessory: Use yellow yarn to make a tiny banana for your monkey to hold in its hands.
- 🔑 Perfect Keychain: Attach a keychain ring to the top of the head to turn your creation into a cute bag charm.
- 🎨 Texture Play: Try using a slightly fuzzy yarn for the brown sections to give your monkey a more realistic "furry" appearance.
🧶 Final Thoughts
This baby monkey is a wonderful afternoon project that results in a charming little toy. Whether you're making it for yourself or as a gift, its small size and cute features are sure to be a hit!
Patterns and instructions on OpenCrochet are for personal use. Please do not redistribute copies of this content; share the page link instead.


